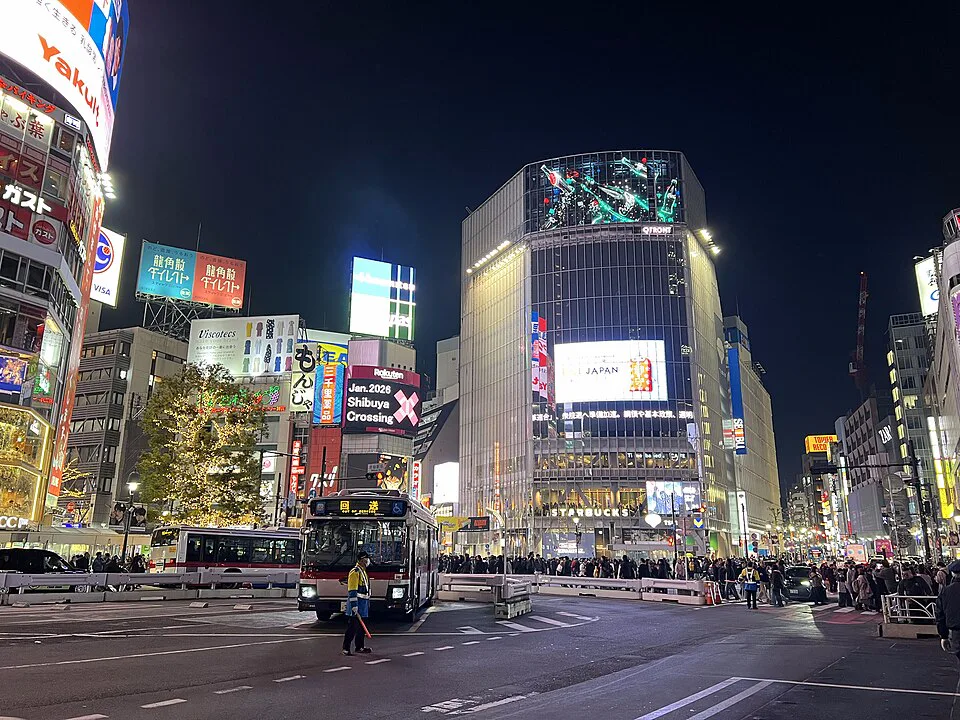
A Tokyo map should tell you which places belong on the same day—not tempt you to connect every nearby-looking pin. For a first trip, use four planning zones: East Tokyo, West Tokyo, Central Tokyo and the waterfront. Then judge every cross-zone move by what it buys. Asakusa + Ueno is usually strong. Harajuku + Shibuya is strong. Toyosu + Odaiba is strong when the Bay area already has a real anchor. Asakusa + Shibuya is physically easy by subway but usually poor itinerary economics.
The difference is dwell time. Tokyo's rail map can make a 25–35 minute ride look trivial, but two station exits, walking, a timed ticket and the need to leave an enjoyable district early can turn one “easy transfer” into an hour of dead itinerary.
ValueNavi Same-Day Compatibility Score
This is a ValueNavi editorial routing model, not an official Tokyo transport score. We rate attraction pairs on directional coherence (30%), transfer overhead (20%), dwell-time fit (20%), hard-ticket compatibility (15%) and evening-endpoint logic (15%). Higher means the pair is easy to combine without forcing one place to become a rushed photo stop.
Pair | Compatibility | Verdict | What can reverse it |
|---|---|---|---|
Asakusa + light Ueno | Green | A major Ueno museum becomes the half-day anchor | |
Harajuku + Shibuya | Green | You add multiple timed shopping/experience bookings | |
Shibuya + Shinjuku | Green/amber | SHIBUYA SKY sunset plus a fixed Shinjuku evening reservation | |
Toyosu + Odaiba | Green | One stop is only filler and you have no Bay-area evening interest | |
Tokyo Station + Ginza | Green | You add a distant timed attraction in the middle | |
Asakusa + Shibuya | Red for most first trips | It is a transition day and one side is intentionally only a short stop | |
Odaiba + Shinjuku | Red with timed anchors | The Odaiba block ends early and Shinjuku is only dinner/nightlife |
The same pair can change colour when one attraction becomes a hard anchor. “Ueno + Asakusa” is excellent when Ueno means park + Ameyoko; it is much weaker when Ueno means a three-hour museum plus a special exhibition.
ValueNavi Cross-City Tax: quantify the part the subway map hides
Before joining two zones, calculate:
Cross-City Tax = extra transfer minutes + station/exit walking + forced early departure from Zone A + hard-anchor buffer in Zone B
This is not a fare calculation. It is the amount of usable Tokyo time consumed by making the pairing work. Our practical threshold is:
Green: under about 25 minutes of extra routing and no hard-ticket conflict.
Amber: roughly 25–45 minutes or one meaningful timed-entry dependency.
Red: more than about 45 minutes of dead routing, or the second zone forces you to leave the first before its natural end.
These are ValueNavi planning thresholds, not transport-company promises. The purpose is to stop a direct train from being mistaken for a free transfer.
East Tokyo: Asakusa + Ueno is strong only when you control museum depth
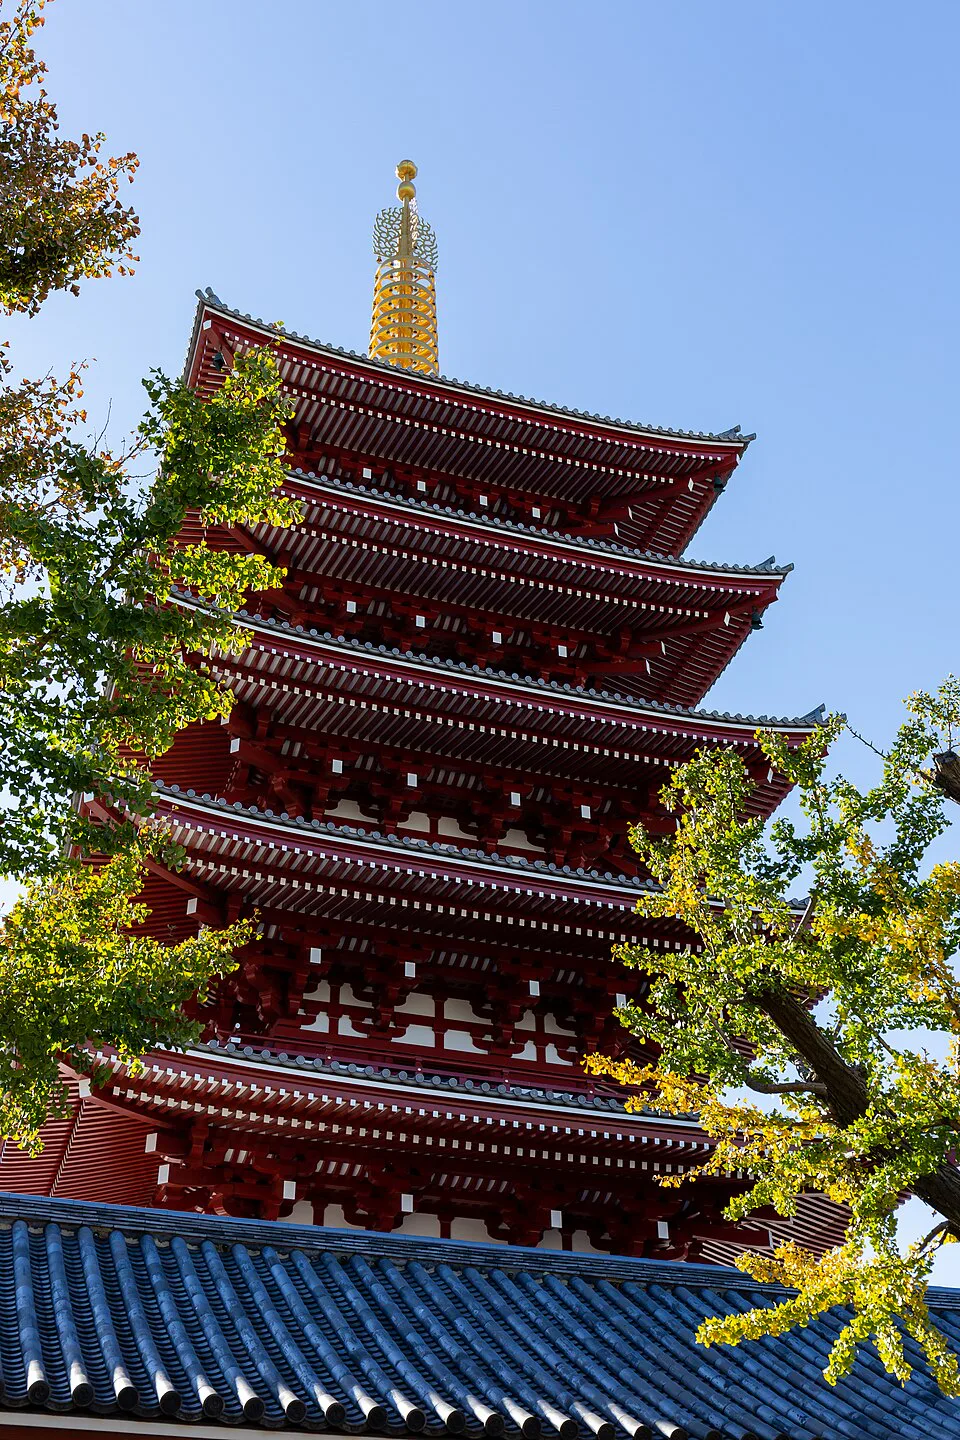
The Ginza Line directly links Ueno and Asakusa, so directional coherence is excellent. The variable is dwell time. A light Ueno block—park, Ameyoko and lunch—can combine cleanly with Asakusa, Senso-ji and the river. A major museum changes the geometry because two to three hours indoors turns Ueno into the day's anchor.
Green route: Ueno Park / Ameyoko → Asakusa → Sumida River or Skytree area in the evening.
Amber route: Tokyo National Museum → Asakusa. Keep Asakusa simple and do not add Skytree as another timed ticket.
Red route: major Ueno museum + Asakusa kimono booking + Skytree timed entry. The geography is fine; the clock is not.
West Tokyo: Harajuku + Shibuya is almost always good; Shinjuku depends on the evening
Meiji Jingu, Harajuku and Shibuya naturally form one directional day. The route becomes fragile when a sunset ticket at SHIBUYA SKY is followed by a fixed Shinjuku dinner or show. Shopping and café time have high variance, so the second hard reservation removes recovery room.
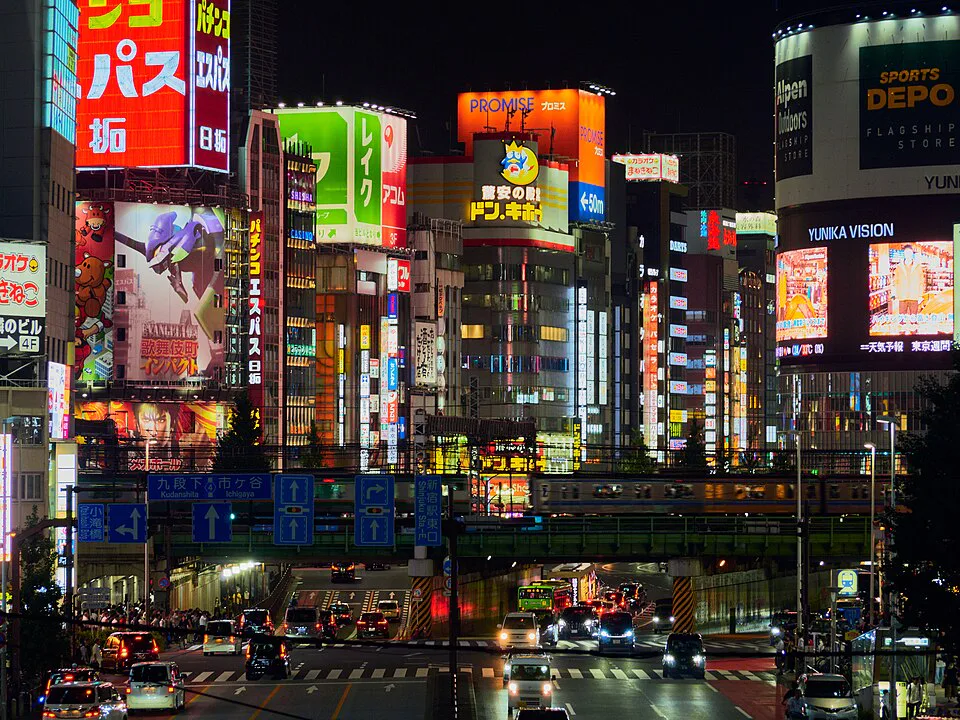
Shopping version: Meiji Jingu → Harajuku / Omotesando → Shibuya → SHIBUYA SKY. End in Shibuya.
Nightlife version: Harajuku → Shibuya → move to Shinjuku before dinner and stay there. Skip a sunset slot if it would split both halves of the day.
The map says Shibuya and Shinjuku are close. The itinerary question is whether both districts still have enough uninterrupted time to feel like destinations.
Why Asakusa + Shibuya is usually a bad “direct train” day
The Ginza Line is direct between Asakusa and Shibuya. That makes the transfer simple, not the day efficient. Both districts can easily absorb half a day. If you leave Asakusa early to protect a Shibuya timed slot, the hidden cost is not only the train ride; it is the part of Asakusa you cut short.
This pairing is acceptable on a transition day when one side has a deliberately small job—for example, a short Senso-ji morning before moving west for a major Shibuya afternoon. It is poor when both sides have long wish lists.
Central Tokyo: use it as a coherent day or a flight-day buffer
Tokyo Station, Marunouchi and Ginza score highly together because the day can shrink without penalty. The Imperial Palace area can fit when its opening calendar works. Azabudai and Roppongi can also belong to a Central Tokyo day, but a major museum, teamLab Borderless or observation deck turns that sub-zone into an anchor.
The central zone becomes a trap when it is used as an excuse to stitch East and West Tokyo together. “It is in the middle” is not a planning advantage if you only pass through stations and never let any area own the day.
Toyosu + Odaiba: the best Bay-area pairing, but only after an anchor earns the trip
Toyosu and Odaiba work well together because the Bay-area transport direction is coherent and the second half of the day can stay flexible. A timed teamLab Planets visit can be followed by Odaiba shopping, food, waterfront views or the free Tokyo Aqua Symphony without adding another high-consequence booking.
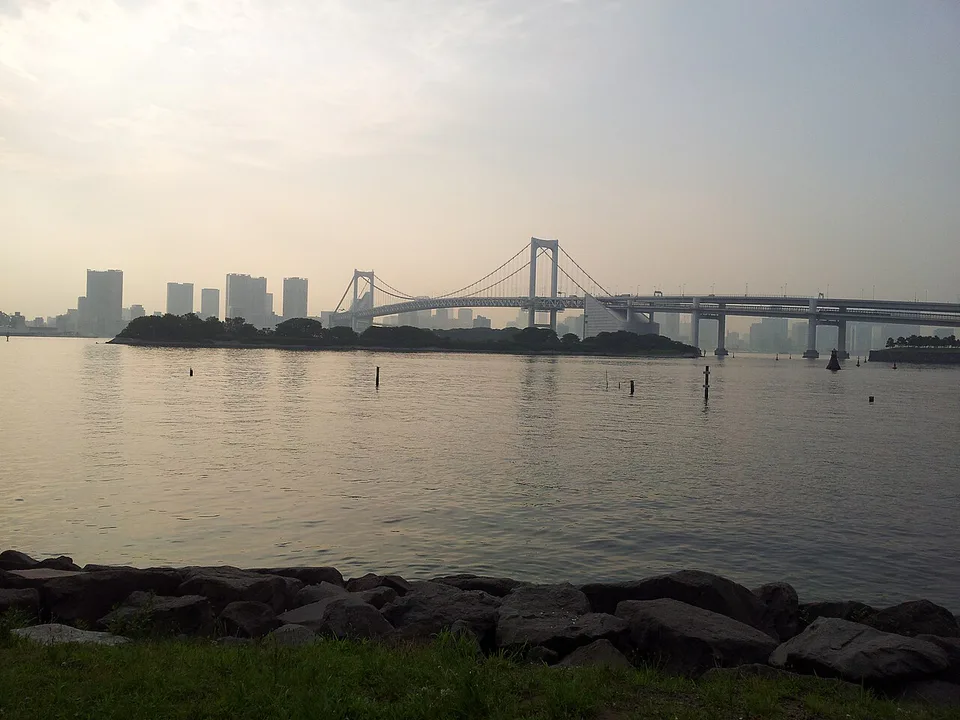
The compatibility score falls when the Bay area has only one weak reason to exist. Crossing Tokyo for a single 60-minute mall or bridge stop and then travelling back west is exactly the kind of free-looking detour that becomes expensive in time.
Theme attractions are not map pins
Tokyo Disney Resort is in Urayasu, Chiba, and should be treated as a full park day. Warner Bros. Studio Tour Tokyo is a multi-hour timed experience in the Nerima direction. Neither should be inserted into a city zone just because it appears visually close to another western or bay-side point.
A useful map has to encode dwell time. A five-hour attraction occupies more space in your itinerary than its physical footprint suggests.
ValueNavi hard-anchor conflict matrix
↔ Scroll table left or right
Day structure | Risk | ValueNavi verdict |
One timed attraction + flexible neighbourhood | Low | Best default |
One timed attraction + museum with flexible entry | Moderate | Fine when geographically close |
Two timed attractions in the same zone | Moderate | Only if there is generous buffer |
Two timed attractions in different zones | High | Usually split days |
Road-based day trip + timed Tokyo evening | Very high | Reject unless missing the evening booking has little cost |
Three route skeletons that remain useful after something goes wrong
Classic East: light Ueno → Asakusa → river / Skytree-area evening. If the museum becomes the priority, delete the evening deck.
West shopping + skyline: Meiji Jingu → Harajuku / Omotesando → Shibuya → one evening anchor. If shopping runs long, delete Shinjuku rather than rushing SHIBUYA SKY.
Waterfront: teamLab Planets or Toyosu anchor → lunch → one Odaiba indoor attraction or mall → waterfront evening. If energy drops, delete the second indoor attraction and keep the bay.
Map first, transport pass last
A transport pass should solve the route you already built. Do not buy an unlimited ticket and then add cross-city rides to “get value.” A day that stays inside one coherent zone may use surprisingly little transport; that is a feature, not a failure to maximize a pass.
For the upstream decision—what should survive your attraction shortlist at all—use Tokyo Attractions. For day trips that remove an entire Tokyo day, use Tokyo Day Trips Compared.
Final verdict
Pair attractions when they share direction, dwell-time logic and one evening endpoint. Separate them when the only argument is “there is a direct train.” Asakusa + light Ueno, Harajuku + Shibuya, Toyosu + Odaiba and Tokyo Station + Ginza are strong first-trip pairs. Cross-zone combinations become expensive once they add more than roughly 45 minutes of dead routing or force two hard bookings to compete for the same day.
The best Tokyo map is therefore not the one with the shortest lines between pins. It is the one that leaves enough unclaimed time for the city to run late.
References
Routing framework checked August 26, 2026. Exact train times, attraction hours and timed-entry conditions can change; recheck the travel date.