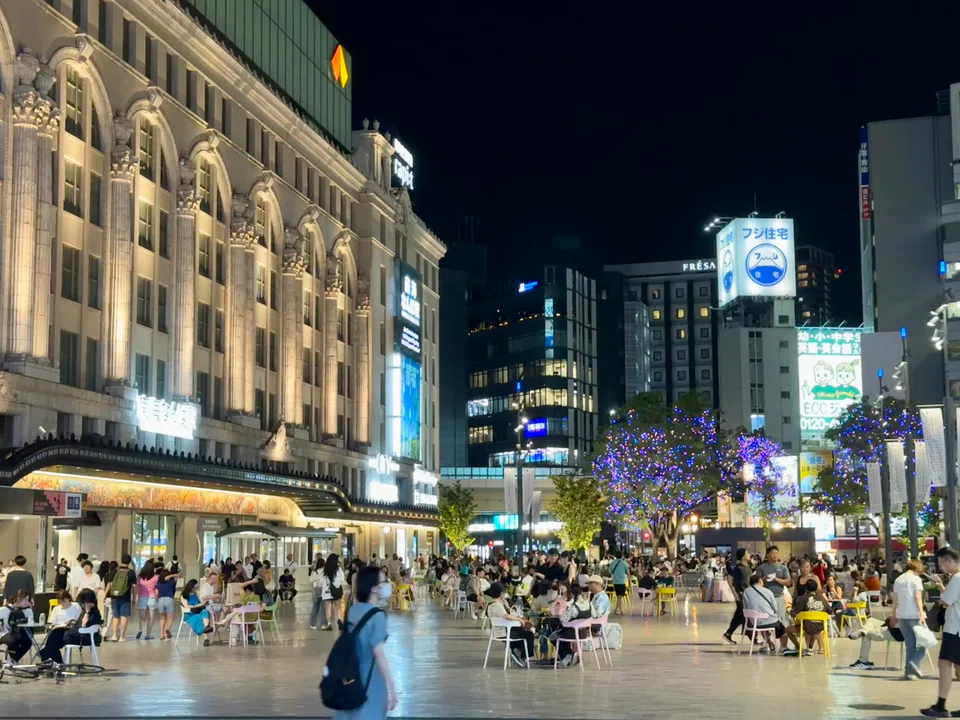
The best Osaka attractions map is not the one with the most pins. It is the one that prevents you from turning a compact city into six separate commutes. For a first trip, think in five practical clusters: Namba/Shinsaibashi, Tennoji/Shinsekai, Umeda/Nakanoshima, Osaka Castle, and the Bay Area. USJ is better treated as its own day whenever it is a major reason for the trip.
The decision rule is simple: one major area change per day is usually fine; changing direction twice is where the itinerary starts leaking time. Tennoji → Namba works. Osaka Castle → Umeda works. Namba → Umeda works. Umeda → Tennoji → Umeda is usually poor. Osaka Castle → Kaiyukan looks neat on the Chuo Line map but often gives two major attractions half a day each when both deserved more.
If you are still deciding which sights deserve a place on the trip, start with Osaka Attractions: Stop Ranking Sights and Start Grouping Neighborhoods. This page is for the next decision: once you have a shortlist, which places actually belong together?
ValueNavi Osaka cluster map: what should share a day?
↔ Scroll table left or right
Cluster | Best anchors | Natural extension | Usually avoid pairing with |
Namba / Shinsaibashi | Kuromon, Dotonbori, Hozenji, Shinsaibashi | Tennoji/Shinsekai or one-way north to Umeda | Bay Area as a rushed add-on |
Tennoji / Shinsekai | Abeno HARUKAS, Tennoji Park, zoo, Tsutenkaku | Namba | Umeda then back south again |
Umeda / Nakanoshima | Osaka Station, Umeda Sky Building, museums, riverfront | Osaka Castle | Tennoji if you still plan to return north at night |
Osaka Castle | Castle, Museum of History, park | Umeda | Kaiyukan when both are must-do paid anchors |
Bay Area | Kaiyukan, Tempozan | One light central/southern evening | USJ as a casual half-day addition |
USJ | USJ itself | Dinner near hotel if energy remains | Any second headline attraction |
The table deliberately treats “same rail line” and “same-day fit” as different ideas. A direct train removes transfers. It does not shrink a three-hour aquarium into 45 minutes or make a theme park a half-day activity.
ValueNavi cluster scores: which areas are easiest to combine?
These are editorial planning scores, not attraction ratings. A high score means the cluster is easy to use without turning the day into transport management.
Cluster | Walking efficiency | Rain resilience | Evening value | Schedule flexibility |
|---|---|---|---|---|
Namba / Shinsaibashi | 9.5/10 | |||
Tennoji / Shinsekai | 8.5/10 | |||
Umeda / Nakanoshima | 7/10 | |||
Osaka Castle | 6.5/10 | |||
Bay Area | 8/10 once there | |||
USJ | 10/10 inside the park |
The practical result: Namba is the easiest place to leave deliberately underplanned. USJ is the opposite. The Bay Area looks isolated on the map, but once you commit to it, the aquarium and Tempozan are highly efficient together. Osaka Castle is geographically central yet often less flexible because the park itself is large and weather exposure matters.
Two Osaka Metro lines explain most of the map
The Midosuji Line is the north–south spine: Umeda M16, Hommachi M18, Shinsaibashi M19, Namba M20 and Tennoji M23. That makes south-to-north progression easy. It does not mean all five belong in one sightseeing day.
Hommachi is the useful junction with the Chuo Line. Go east toward Tanimachi 4-chome C18 for the Osaka Castle side; go west toward Osakako C11 for Kaiyukan and Tempozan. This creates a seductive map illusion: Osaka Castle and Kaiyukan appear to be one simple east–west day. Rail logistics are easy; the time budgets are not.
The same-day conflict matrix: what looks efficient but usually is not?
↔ Scroll table left or right
Combination | Verdict | Why | When it can still work |
Tennoji + Namba | Excellent | Same southern corridor; easy one-way movement. | Almost always, unless both contain multiple ticketed anchors. |
Osaka Castle + Umeda | Very good | Morning-heavy eastern area followed by stronger afternoon/evening northern area. | Works best if you choose only one major Umeda attraction. |
Namba + Umeda | Good | Direct north–south connection. | Keep moving north; do not return to Dotonbori afterward unless the hotel is there. |
Osaka Castle + Kaiyukan | Borderline | Direct-looking Chuo Line hides two long attraction blocks. | Only if one side is deliberately short and neither is a must-see deep visit. |
Kaiyukan + USJ | Usually no | Both are destination anchors with ticket/time structure. | Only for a repeat visitor deliberately doing a very short park or aquarium visit. |
USJ + Osaka Castle | No for most first trips | The theme park already consumes the best part of the day. | Not worth planning around. |
Umeda → Tennoji → Umeda | Poor | You reverse the same north–south trip and repeatedly pay station-navigation cost. | Only if a fixed booking makes the return unavoidable. |
Namba + Shinsaibashi: the easiest cluster to underestimate
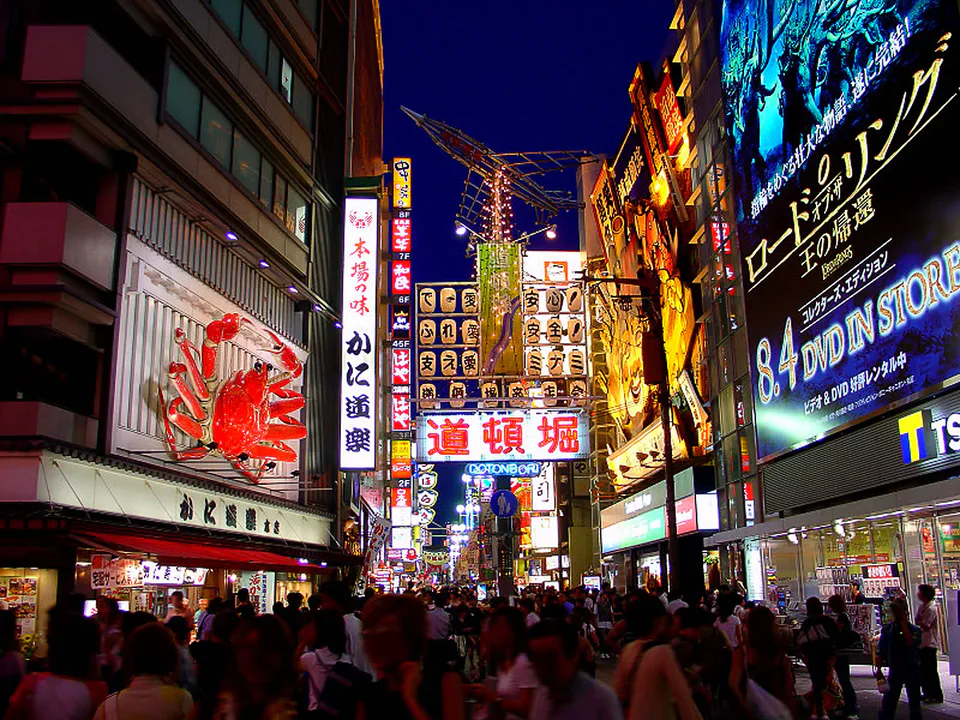
Kuromon Market, Namba, Dotonbori, Hozenji Yokocho and Shinsaibashi look so dense that people treat them as “spare time.” That is exactly why the area swallows half a day. Food, shopping, photos and unplanned detours are not inefficiencies here; they are the experience.
A stable first-time structure is Kuromon earlier, Shinsaibashi/Namba through the afternoon, then Dotonbori after dark. The hidden cost is not transport. It is opportunity expansion: every shop and snack can add 10–20 minutes, so a “two-hour Namba stop” can quietly become five.
If you want one extension, Tennoji/Shinsekai is the natural southern choice. If you want a northern finish, continue once to Umeda and stay there. Do not build a Dotonbori → Umeda → Dotonbori loop just because your hotel is not fixed yet.
Tennoji + Shinsekai: make the viewpoints compete, not accumulate
Tennoji M23 anchors Abeno HARUKAS, Tennoji Park and the zoo, with Shinsekai and Tsutenkaku just north. The common planning error is to collect every skyline because the pins are close.
If HARUKAS 300 is your paid observation deck, Tsutenkaku can become a neighborhood landmark rather than another mandatory ticket. If Shinsekai street atmosphere is the priority, you may not need HARUKAS at all. Use the Osaka observatory comparison to remove duplicates before arranging the route.
Families can make Tennoji Zoo the daytime anchor and Shinsekai the late-afternoon finish. Adults more interested in food can skip the zoo and keep the whole block flexible. The cluster works because deleting one attraction does not destroy the route.
Umeda + Nakanoshima: station friction is part of the time budget
Umeda is not one doorway. Osaka Station, Umeda, Higashi-Umeda and Nishi-Umeda connect JR, private railways and Metro through a large station district. A map’s “arrive Umeda” time does not include finding the correct underground exit, meeting point, department store or tower entrance.
This is why Umeda works best as a destination rather than a transfer you repeat three times. Pair Nakanoshima or Osaka Castle earlier in the day, then let Umeda absorb late-afternoon shopping, dinner and one night view. If you stay nearby, the value improves again because there is no final cross-city return.
Before choosing a hotel simply because “Umeda is central,” compare Namba vs Umeda. A base is good when it points in the same direction as several days, not when it sits near the geometric middle of the city.
Osaka Castle: central location does not mean “quick stop”
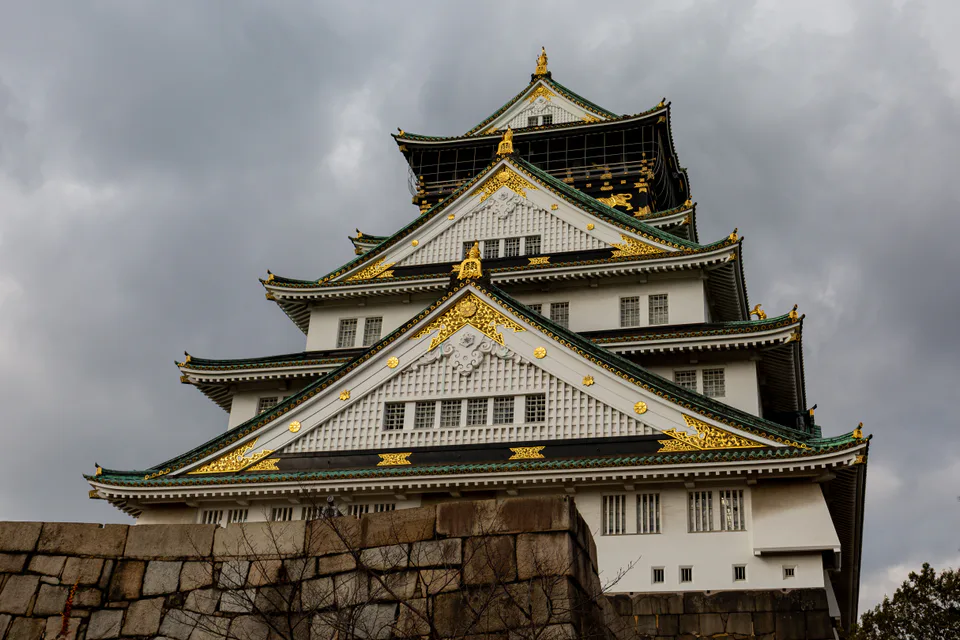
Osaka Castle, the park and Osaka Museum of History can form a complete half-day. The physical scale is the hidden cost: walking from station to grounds, crossing the park, entering the museum/castle and leaving again takes more time than the attraction pin suggests.
That is why Osaka Castle → Umeda is usually stronger than Osaka Castle → Kaiyukan. The first route moves from a daytime district into an evening district. The second asks you to give another major paid attraction whatever hours are left after a large outdoor site.
If you are using the Osaka Amazing Pass, do not let an included attraction turn Osaka Castle into a 45-minute stamp stop. The pass is useful when it discounts a route you already wanted.
Bay Area: Kaiyukan + Tempozan is a real cluster
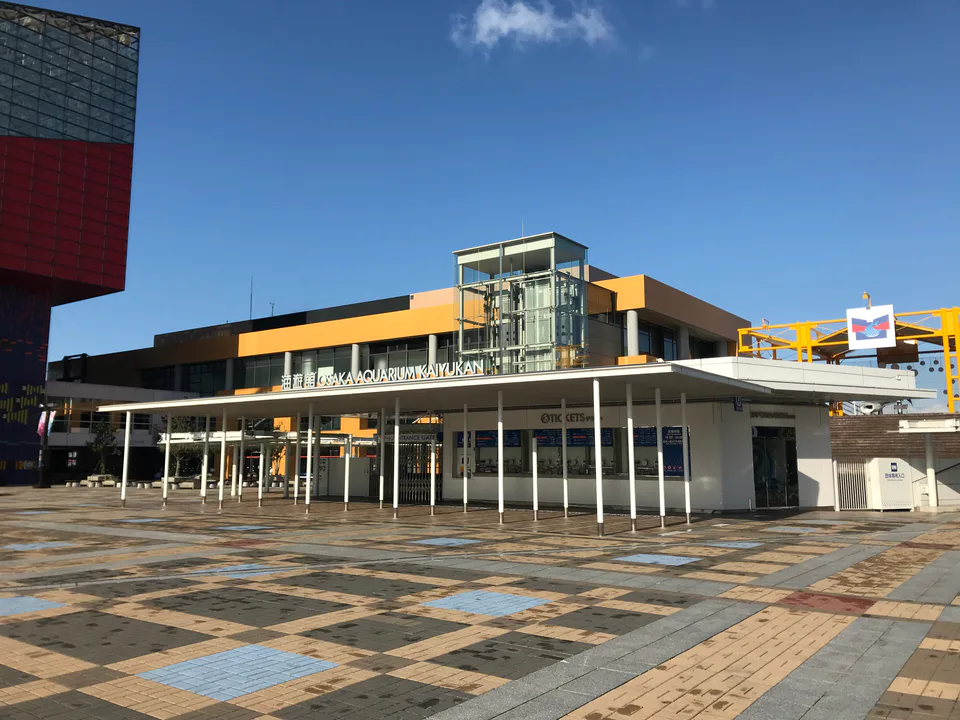
From Osakako C11, Osaka Aquarium Kaiyukan and Tempozan belong together. This is what a good cluster looks like: one arrival, then several activities on foot. The aquarium itself uses date/time-specific tickets to manage entry volume, and from June 15, 2026 it ended re-entry. Once you leave, treat the aquarium visit as finished.
That makes the Bay Area less flexible than Namba. If Kaiyukan is a must-do, give it the time it needs first, then treat Tempozan as the optional extension. Do not schedule a fixed central-Osaka ticket immediately afterward unless you have a comfortable buffer.
For current ticket rules and realistic visit planning, see the Kaiyukan 2026 guide.
USJ is on the map, but it should not behave like a map pin
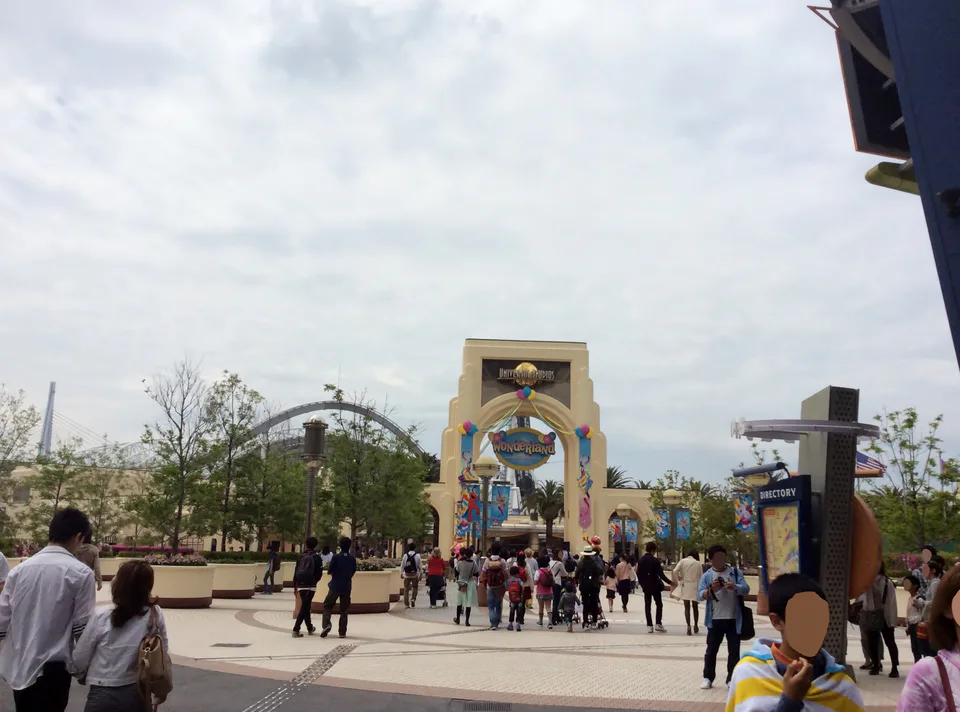
Universal Studios Japan deserves its own logic. From January 5, 2026, the official USJ app is required to obtain same-day SUPER NINTENDO WORLD Area Timed Entry Tickets and Standby Entry Tickets when those controls are operating; depending on conditions, entry can sometimes be possible without one. That variability is exactly why USJ should not be treated as a casual morning stop before Kaiyukan or Osaka Castle.
If Nintendo, Donkey Kong, headline rides or Express Pass timing matter, give USJ the day. Your “extension” should be dinner near the hotel, not another headline attraction you would resent leaving early.
Use the USJ Express Pass decision guide after the date is fixed. Ticket strategy should solve the park day; it should not force the rest of Osaka into whatever hours remain.
Arrival and departure days need a different map
A full sightseeing day can tolerate one area change. A flight day should be stricter. If you arrive through KIX with luggage, the most useful first cluster is often the one near your hotel or direct airport-rail terminal, not the attraction with the highest rating.
A Bay Area timed ticket on arrival day creates three failure points: flight delay, luggage handling and cross-city travel. A flexible Namba or Umeda walk creates almost none. Before choosing the first/last cluster, use the KIX-to-Osaka route guide to decide whether your actual hotel door is closer to Namba, Umeda, Tennoji or Shin-Osaka.
How much time should each cluster really consume?
↔ Scroll table left or right
Cluster | Realistic minimum | Comfortable use | What usually expands |
Namba / Shinsaibashi | 3 hours | Half-day to evening | Food, shopping, photos |
Tennoji / Shinsekai | 3 hours | Half-day | Zoo / viewpoint / dinner |
Umeda / Nakanoshima | 3 hours | Half-day to evening | Station navigation, shopping, dinner |
Osaka Castle | 2.5 hours | Half-day | Park walking, museum, queues |
Bay Area | 3 hours | Half-day or more | Aquarium pace, Tempozan add-ons |
USJ | Do not plan as a minimum-time stop | Full day | Queues, timed entries, shows, meals |
These are planning blocks, not official durations. Their purpose is to expose the difference between train time and door-to-door sightseeing time.
The Osaka Amazing Pass should follow the map, not rewrite it
For 2026–27, the standard Osaka Amazing Pass costs ¥3,500 (about US$22) for one day and ¥5,000 (about US$31) for two consecutive days. One digital pass day runs from 03:00 to 02:59 rather than for a rolling 24 hours.
The pass becomes dangerous when it makes you cross the city to “use one more free attraction.” If your natural route is Osaka Castle → Umeda, calculate the attractions on that route. If your day is mostly Kuromon, Dotonbori and shopping, accept that the pass may not fit. The full Amazing Pass break-even guide explains why an included attraction you never wanted is not a saving.
Once the district and date are fixed, you can check which Osaka activities still have usable times for that day. Booking comes last because a ticket is much harder to move than a map pin.
Three first-trip route templates that survive real-world friction
South Osaka day: Tennoji → Shinsekai → Namba
Start with one Tennoji anchor, move north into Shinsekai, then finish in Namba/Dotonbori. This route gets stronger as the day gets later and never asks you to reverse direction.
East-to-north day: Osaka Castle → Nakanoshima/Umeda
Use daylight for the castle/park, then move into north Osaka for museums, shopping, dinner or one skyline. If the castle takes longer than expected, delete Nakanoshima or the viewpoint rather than accelerating the castle.
Bay day: Kaiyukan → Tempozan → flexible central evening
Make the aquarium the fixed ticket. Keep the evening loose. If everyone still has energy, return to Namba or Umeda; if not, you have not broken another reservation.
Final verdict: the map should delete attractions, not just locate them
A useful map tells you what not to combine. Osaka’s rail network makes many routes technically possible, so Google Maps rarely says “this is a bad day.” The decision layer has to come from time cost, direction, ticket rigidity and what each district is best at.
ValueNavi rule: choose one anchor cluster, allow one meaningful move, and let the final area own the evening. If your draft itinerary changes direction twice, ask which stop would hurt least to delete. That deletion usually improves the day more than finding a faster train.
The strongest counterargument is that Osaka transport is efficient enough to cross repeatedly. True—but the penalty is not just minutes on the train. It is station exits, underground navigation, walking from station to attraction, reorienting the group and arriving at each place during a busier hour. The city is compact. Your attention is not.
Official checks
Facts checked August 27, 2026. Osaka Metro confirms the current station codes used here; USJ confirms that from January 5, 2026 its app is required for same-day SUPER NINTENDO WORLD Area Timed Entry/Standby tickets when required; Kaiyukan confirms re-entry ended June 15, 2026; and the Osaka Amazing Pass official site confirms the ¥3,500 / ¥5,000 standard prices and non-rolling validity. USD figures are approximate at the August 27 exchange rate.