A seven-day Osaka trip with parents usually goes wrong for a less obvious reason than “too many sights.” The real problem is treating short-looking transfers as free. A wrong exit at Osaka Station, twenty minutes standing at a Kyoto bus stop, the walk across Osaka Castle Park before you even reach the main tower, or one more cross-city ride after dinner may each look minor on a map. Stack them for four days and they become the reason everyone starts asking to skip the evening plan. My default answer is simple: keep one Osaka hotel for the week, give each day one thing that cannot fail, build an obvious escape route into every afternoon, and eat near the hotel on most nights.
This is not an “elderly itinerary,” and it does not assume someone becomes a different traveler at sixty or seventy. What matters is the type of friction that wears your parents down first. Can they walk on level ground but struggle with slopes? Can they walk but hate standing in queues? Are stairs the problem? Does navigating a giant station drain more energy than the train ride itself? Would they still want another transfer after 8 p.m.? Two families with parents of the same age can need completely different Osaka plans.
If your parents travel comfortably on foot, this route can still include USJ, Kyoto, Nara and Kobe. If they need frequent seated breaks, I would replace either USJ or Nara with Kaiyukan or a low-intensity Osaka day. If a wheelchair is essential, if transferring from a wheelchair to an attraction seat is difficult, or if there are specific care or medical requirements, use this article only as a trip framework. You will need to verify station elevators, barrier-free routes and attraction-by-attraction requirements before paying for tickets.
The 30-second answer: six rules for 7 days in Osaka with parents
First, move hotels no more than once — and the default should be zero moves. Second, allow one major attraction or destination per day; everything else must be optional. Third, do not confuse “free” with “easy.” Osaka Castle Park, Fushimi Inari and Nara Park can demand more walking than a paid indoor attraction with seating. Fourth, prioritize a seated lunch over a famous restaurant queue. Fifth, return to your hotel area for dinner on most nights and pay for only one intentional night view. Sixth, protect either Day 5 or Day 7 as a day that can be downgraded completely without ruining the trip.
This version works best for parents who can walk independently and use public transportation but should not be doing 20,000-step days, repeated long queues or frequent hotel changes. It is a poor fit as a copy-and-paste plan for someone who needs all-day wheelchair support, whose mobility has recently changed, or who needs medical assistance. In those cases the accessible route of each specific facility matters more than a generic “Osaka senior itinerary.”
Start with a mobility audit — but do not ask “How many steps can you walk?”
Standing, stairs, slopes and transfers create four different kinds of fatigue
Some travelers can walk for an hour on flat pavement but immediately struggle on Kyoto hills. Some have no problem with distance but find twenty minutes standing in a restaurant line much harder than twenty minutes walking. Others handle stairs but become exhausted by finding the right exit, changing platforms and repeatedly reorienting inside Osaka Station. Before you build the itinerary, ask four practical questions: How long can you go before needing a seat? Are consecutive stairs difficult? Is standing still worse than walking? After dinner, would another train transfer feel normal or annoying?
Those answers should determine whether Kyoto stays, whether USJ is a full day or disappears, whether Todaiji is included in Nara, and whether Umeda or Namba makes the better hotel base. The itinerary should be designed around the first thing that breaks the day, not around an abstract fitness score.
Choose the hotel by the last 10 minutes of every day, not by its star rating
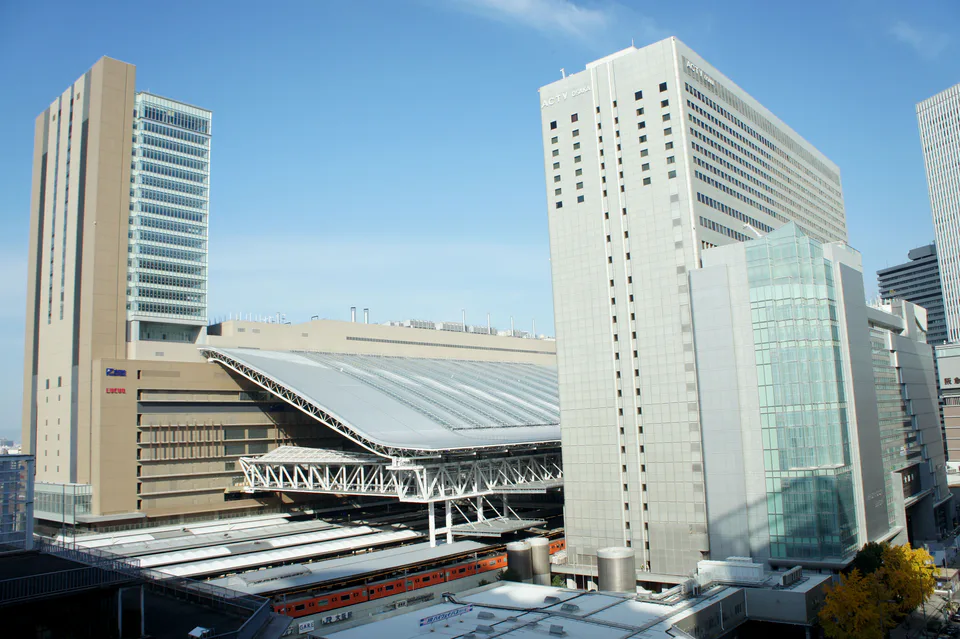
For a week with parents, I care more about the route from platform to room than the number of meters shown on a booking map. Osaka Station and the Umeda underground network are huge. Two hotels both described as “next to Osaka Station” can require very different combinations of exits, overpasses and underground corridors. Namba has the same problem: Nankai, Kintetsu and Osaka Metro do not share one magical front door.
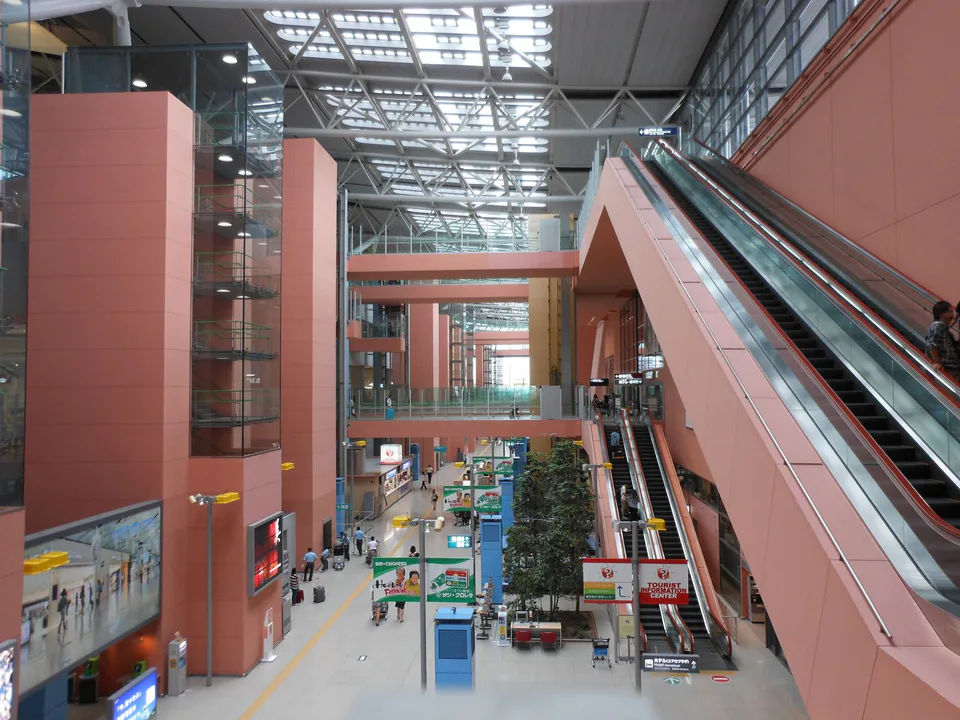
If Kyoto and Kobe are both day trips and you expect to use JR or Hankyu often, Umeda usually makes the stronger base. If KIX, Nara and Dotonbori dinners matter more, Namba can remove more friction. Start with Namba vs Umeda and then narrow the shortlist with the Osaka accommodation decision hub. Do not fall in love with one hotel first and then force seven days of transport to justify it.
The room itself also needs a different ranking. With parents, an easy bathroom step, clear twin-bed configuration, space beside the beds, an elevator route that is not a maze, and breakfast that does not require another morning mission may matter more than a dramatic lobby. The dedicated Where to Stay in Osaka With Parents guide is built around transfers, bathroom friction and the walk home after dinner rather than generic luxury rankings.
Day 1: KIX to Osaka — getting into the room is the only real objective
Choose airport transport that removes a transfer, even if it is not the theoretical fastest
After a long flight, the worst place to save ten minutes is the final luggage transfer. If you are staying in Namba, Nankai often creates a clean airport-to-base story. Around Osaka Station, JR and airport buses can both work, but the important number is not just airport-to-station time. It is how far you still have to drag luggage after you get off. Use the Kansai Airport to Osaka guide to compare the final walk instead of simply picking the fastest train.
If the flight lands in the afternoon or evening, do not book a timed attraction on Day 1. Check in, shower, eat within the hotel area, and perhaps make a ten-minute convenience-store walk. Even if everyone says they still have energy, resist the urge to add Dotonbori or an Umeda observation deck just because it is the first night. The energy you do not spend here tends to become useful on Days 3 and 4.
Use the first evening to test tomorrow’s station route
Before or after dinner, deliberately walk to the station entrance you expect to use the next morning. Find the elevator, identify the correct exit and check whether the hotel breakfast, convenience store and taxi pickup point are on the same side. Osaka Metro continues to improve barrier-free access, but “this station has an elevator” does not mean the elevator is beside the exit you would naturally choose. Testing the route when nobody is rushing is much cheaper than discovering the detour with the whole family the next morning.
Day 2: Osaka Castle + Umeda — make the first full day easy to shorten
The biggest Osaka Castle trap is the park approach, not the stairs inside
Osaka Castle works with parents, but do not translate “the tower has elevators” into “the whole visit is easy.” Osaka Castle Park is large, and the gradients and distances change depending on which station and gate you use. The current official barrier-free map shows Road Train and Electric Car options inside the park, wheelchair-compatible boarding on some vehicles, a special elevator from the ground-level ticket area to the main-tower entrance, and restricted-use elevator access on upper floors for visitors with movement limitations. The point of knowing this is to reduce movement — not to use the saved energy to add three more sights.
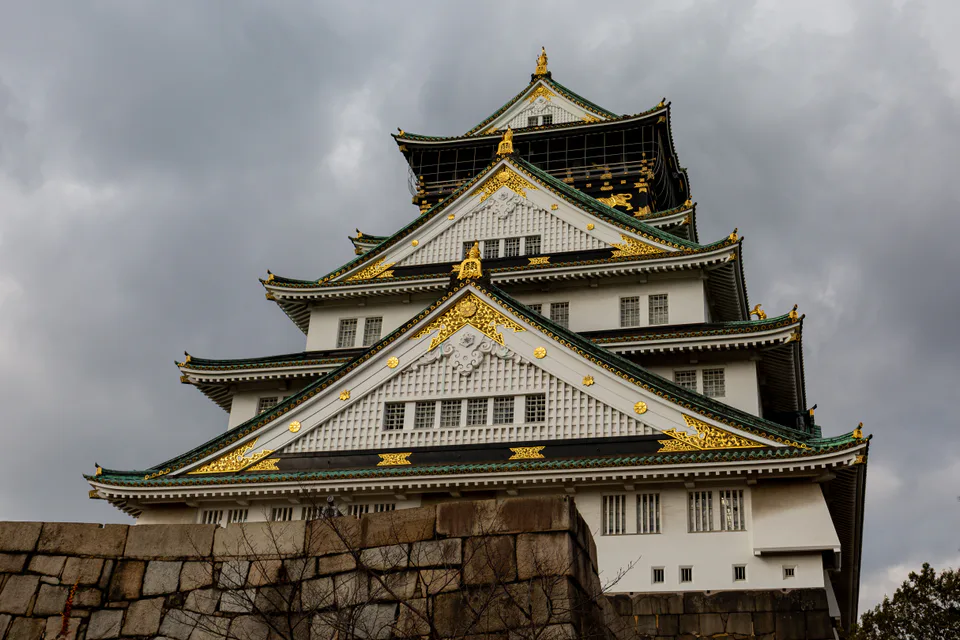
Make Osaka Castle the morning. If your parents genuinely want the history, go inside. If reaching the inner grounds has already taken enough out of the group, the park, exterior views and a rest can still be a complete morning. Do not let a prepaid ticket or an included pass attraction turn fatigue into a sunk-cost argument.
After lunch, stay north — do not bounce to another side of Osaka
Go to Umeda after lunch or return to the hotel for a break. The afternoon can be Osaka Station shopping, a café and one low-walking indoor plan. If everyone still feels good in the evening, keep one night view. Before paying for a deck, compare free Osaka night views with paid observation decks. The expensive mistake with parents is rarely the ticket itself; it is having a non-refundable evening reservation after the day has already gone long.
If you were thinking about the Osaka Amazing Pass, Day 2 is the one day when it deserves a serious calculation. But this itinerary intentionally lowers same-day attraction density, which is exactly what can make an attraction-heavy pass harder to justify. Read the Osaka Amazing Pass guide and the wider Osaka pass comparison after the route exists — not before. Do not buy a pass and then add a cruise, Tsutenkaku and a second viewpoint purely to “get your money back.”
Day 3: Should you take your parents to USJ? Desire matters more than age
USJ earns a full day only if your parents actually want to be there
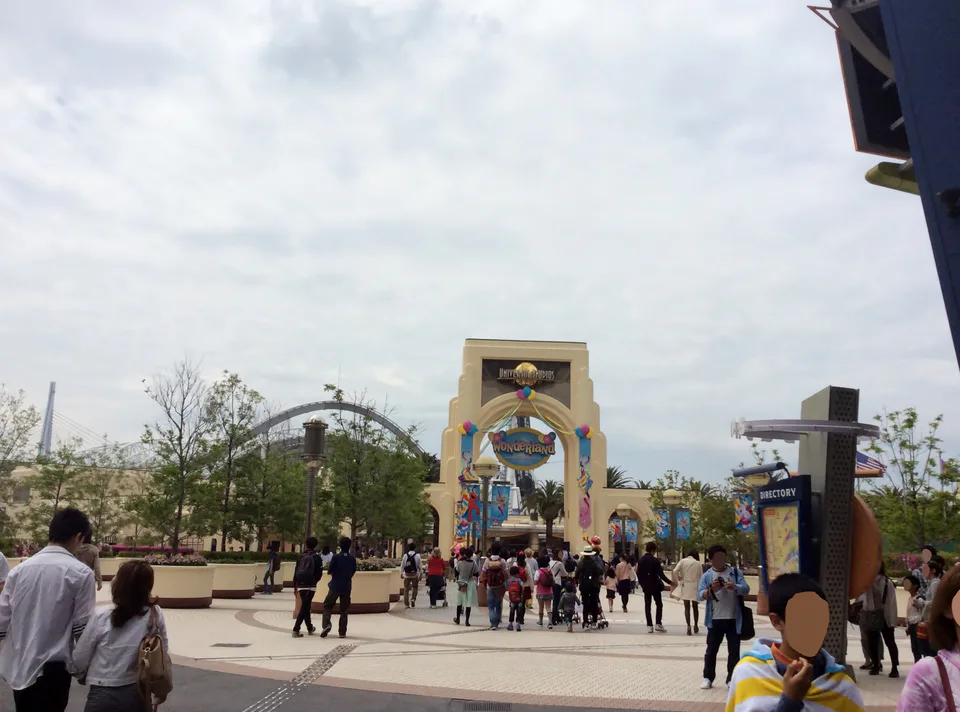
Universal Studios Japan is not automatically “too young” for parents, and it is not automatically required for a first Osaka trip. Ask what they specifically want from it. Do they care about Super Nintendo World, Harry Potter, a parade, shows or particular rides? If the honest answer is “we will go because the kids want to go,” this can become the most expensive and exhausting day of the week while producing very little for them. If they genuinely like theme parks, characters or movies, keep it — and treat it as the one high-intensity day of the trip.
USJ currently rents manual wheelchairs for ¥500 each. Availability is limited and rentals cannot be reserved. More importantly, attraction requirements differ: some experiences can accommodate wheelchairs differently, some require a transfer, and evacuation requirements can affect who can ride. A wheelchair rental at the gate therefore does not mean every Express Pass attraction is automatically suitable. If mobility support is important, check the official Barrier-Free Guide attraction by attraction before buying a package.
If USJ stays, reduce the day to three categories: one area that matters most, two or three attractions your parents truly want, and at least one substantial indoor or seated break. Express Pass value also changes with the group. Paying for more Express coverage is pointless if half the included rides are attractions your parents would never board. Use the USJ Express Pass decision guide to identify the non-negotiable rides first and buy around those — not around the largest package.
If your parents do not care about USJ, replace it without guilt
A first trip to Osaka is still complete without USJ. Move Kaiyukan forward, spend a low-intensity day around Osaka Station or Tennoji, add one indoor museum, or simply create a slower shopping-and-lunch day. That is not a downgrade. It returns an expensive full day to things your parents actually enjoy. The money not spent at USJ can easily produce more value as a better-located hotel, a few strategic taxi rides or a comfortable dinner reservation.
Day 4: Kyoto needs one geographic line, not a greatest-hits endurance test
The critical Kyoto decision is not “how early?” — it is “how many districts?”
From Osaka, I would not give parents the classic Fushimi Inari + Arashiyama + Kiyomizu + Gion marathon. Kyoto’s official congestion forecast now shows area-by-area and time-of-day forecasts around popular locations, with live information for selected areas. That matters because crowds add more than visual annoyance: they turn short walks into slow standing, detours and long waits for a seat.
For parents with normal walking comfort who want classic Kyoto, choose either lower Fushimi Inari plus Gion/Yasaka, one Higashiyama line, or Arashiyama as its own half-to-full day. If slopes are the main problem, Kiyomizuzaka should not be treated as mandatory simply because it appears on every first-timer list. You can instead build around Kyoto Station or a more controllable indoor attraction and use a short taxi for one evening district. The key is one geographic direction all day — never Fushimi → Arashiyama → Kiyomizu.
Kyoto’s official transport guidance also recommends combining trains, subways and buses rather than relying only on buses. Its route-planning advice specifically warns that general map apps may show the shortest distance while real travel can take much longer in congestion. With parents, avoiding one packed bus and a roadside wait can be more valuable than shaving five minutes off the walking distance.
Day 5: Nara can be half a day — deer plus Todaiji does not have to become six stops
“It is all in Nara Park” still hides a lot of walking
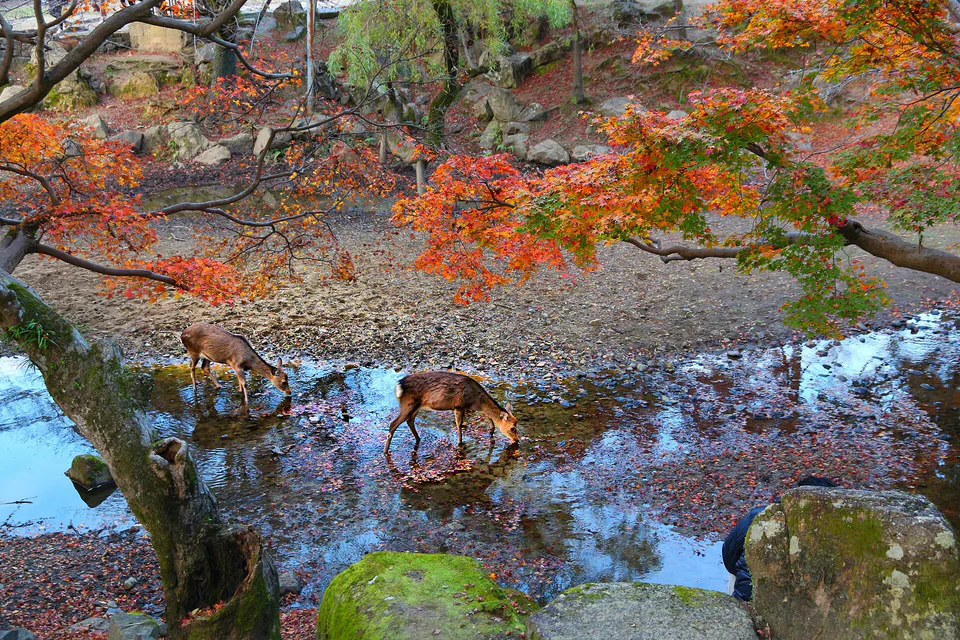
Nara Park, Todaiji, Kasuga Taisha and Naramachi look compact when reduced to pins on a map, but the walking adds up quickly. With parents I would make “Nara Park and the deer” the guaranteed core, then decide on Todaiji based on how the morning feels. If everyone is already tired before lunch, eat and return to Osaka. Do not add Kasuga Taisha, Naramachi and a museum just because the day trip has room on paper.
Your Osaka base changes the friction here too. Namba pairs naturally with Kintetsu access to Kintetsu Nara; from Umeda, include the Osaka-side transfer in the calculation. The useful question in Nara from Kyoto or Osaka is the final approach, not the name of the origin city. When traveling with parents, hotel door to platform and station to Nara Park belong in the same calculation.
If Kyoto ran long, turn Nara into an Osaka recovery day
This is the most important deletion rule in the itinerary. If Day 4 finished late and your parents wake up with heavy legs, do not go to Nara just to prove the spreadsheet was completed. Sleep later, have lunch near Osaka Station, shop slowly and go back to the room in the afternoon. Losing one city from a seven-day trip is far cheaper than creating three exhausted final days.
Read next: by Day 5, ask whether they are tired — or simply tired of being rushed
If the first half of the trip has produced the same signals — nobody wants to leave early, transfers suddenly feel annoying, dinner near the hotel sounds much better than another district — stop trying to complete the original list by force. Reopen the Kyoto vs Nara vs Kobe vs Himeji day-trip comparison and keep only the day trip that still matters. If the hotel is not booked yet, go directly to Where to Stay in Osaka With Parents.
Physical fatigue and schedule fatigue are not the same problem. If walking is the issue, reduce distance, use a taxi strategically and favor indoor seating. If your parents can walk but hate being managed by the clock, keep the destination and delete timed tickets, restaurant queues and the second paid attraction. Calling every complaint “low stamina” often leads to the wrong fix.
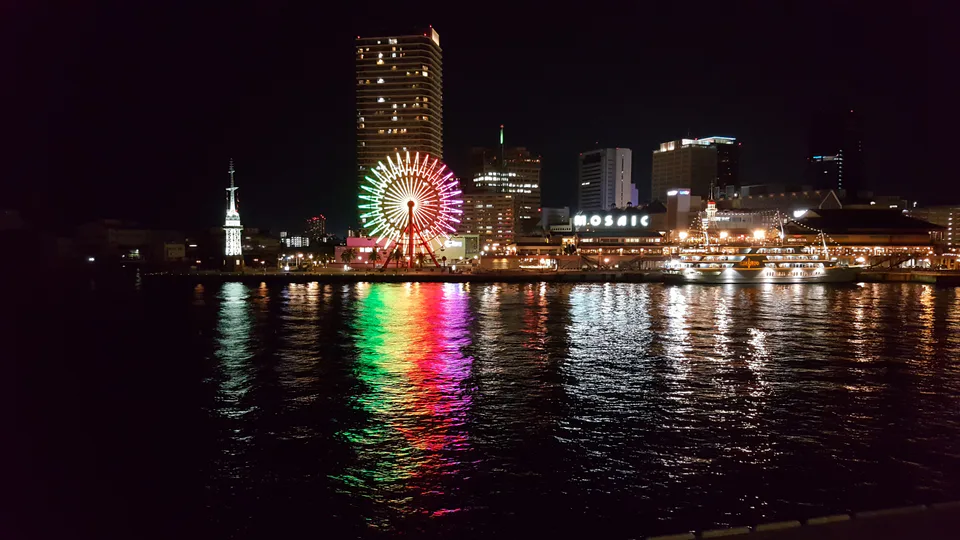
Day 6: Kobe works best as a waterfront day — not a Kitano hill marathon
A standard first-time Kobe plan often tries to include Kitano, Sannomiya, Nankinmachi, Meriken Park and Harborland in one sweep. With parents, I would usually cut the uphill Kitano section first. Arrive later, eat around Sannomiya or Motomachi, then move gradually toward the waterfront. If the walking needs to shrink, use a bus or short taxi instead of treating every block as sightseeing.
Kobe’s official Universal Tourism information is unusually useful for this type of trip. It consolidates wheelchair rental locations, accessible toilets, barrier-free facility information, example routes and support services for older travelers and travelers with disabilities. If your parents like indoor spaces and visual design but do not want a long waterfront walk, átoa in Kobe can replace part of the outdoor route. Replace — not add. If an aquarium-art experience does not appeal to them, do not buy it just because it is indoors.
Day 7: keep it deliberately soft — Kaiyukan, shopping, or nothing paid at all
Why Kaiyukan works better than “one more day trip” at the end of the week
If everyone still wants an attraction but no longer wants another city, Osaka Aquarium Kaiyukan is a useful indoor anchor. The current official barrier-free information says most of the aquarium route is sloped, with staff guiding wheelchair users to elevators where needed. Wheelchairs are available in limited numbers and accessible restrooms are provided. That makes the physical pattern more predictable than another sprawling outdoor day.
There is one important 2026 change: Kaiyukan ended re-entry from June 15, 2026, and admission is managed through timed-entry tickets. That means you should plan lunch, rest and entry time before going in rather than assuming you can leave for an hour and return. The full current rules are in the Kaiyukan 2026 guide. If the previous six days were already enough, delete Kaiyukan as well. A late breakfast, souvenir shopping, packing and an afternoon café can be the best final day of the trip.

Do not schedule a break every 90 minutes — pre-plan where a break can happen
The itinerary does not need a rigid alarm that tells your parents to sit down every ninety minutes. It does need a known place to sit in every half-day. Osaka Station malls, cafés, attraction rest areas, a lunch reservation and the hotel lobby all count. The worst break plan is reaching the point of exhaustion, opening Maps on the sidewalk and discovering the nearest suitable café is another fifteen-minute walk away.
A better design gives every morning and afternoon one legal exit. At Osaka Castle, you can stop at the park and skip the tower. In Kyoto, you can avoid the Kiyomizu slope. In Nara, skip the second temple. In Kobe, remove Kitano. On Day 7, buy no ticket at all. When every day has a legitimate stopping point, your parents do not have to keep saying “I’m fine” to protect the plan.
Budget taxis as a deliberate tool, not an emergency admission of failure
For three or four travelers, a short taxi can be a rational way to remove the least valuable walking. Kyoto hills, the last waterfront transfer in Kobe, or the ride back after dinner are exactly where a modest taxi budget can protect the rest of the day. If a fifteen-minute walk adds no sightseeing value and only burns the energy you need for the attraction itself, there is no prize for doing it on foot.
Taxis do not solve bad geography. Peak-time shortages, traffic and restricted drop-off points can make “we will just take a taxi” unreliable. The core design still has to be one area per half-day and fewer cross-city jumps. A taxi should remove friction from a good route, not stitch three bad locations into one day.
Lunch is more worth reserving than breakfast
Breakfast is easy to simplify: hotel breakfast, a convenience store or something near the station. Lunch arrives after everyone has already spent a morning walking. With parents, I would rather know there is a seat at 12:30 than chase a famous restaurant and stand forty minutes outside. The painful cost is not paying slightly more for lunch; it is using the group’s best seated recovery window as another queue.
Dinner works the opposite way. On most nights, return to the hotel area. Unless Kyoto or Kobe at night is intentionally the main event, do not cross Osaka at 7:30 p.m. for one restaurant. A well-chosen hotel makes “dinner, then ten minutes to the room” a real travel feature.
The Osaka Amazing Pass is usually not the default for this itinerary
The biggest design rule for an Osaka trip with parents is lowering same-day attraction count. The value of a multi-attraction pass often improves when you do the opposite. That creates a natural conflict. Unless Day 2 already includes Osaka Castle and multiple included attractions your parents genuinely want at a comfortable pace, do not fill free time simply to make a pass look profitable.
“It is included” is a dangerous sentence once the group is tired. It turns optional attractions into sunk costs. On a parents trip, the most valuable pass can sometimes be the pass you do not buy. Pay for certainty or access where it changes the day; do not pay for a checklist that makes the day longer.
If stairs are a major issue or a wheelchair is required, verify these three things before paying
Check the attraction, not only the station
Osaka Castle has barrier-free routes and elevators, but the approach from different stations still contains different gradients. USJ rents wheelchairs, but each attraction has its own access and transfer requirements. Kaiyukan is mostly sloped but uses elevators for some movements with staff assistance. There is no single “Osaka is accessible” answer that replaces facility-level checking.
Then check the exact station exit
Large Osaka Metro stations may have several exits, and the barrier-free exit can put you on a different side of the road from the one you expected. When accessibility matters, use the official station map to identify the elevator route and redraw the final five to ten minutes to the hotel, restaurant or attraction. A hotel that is 300 meters away from the wrong exit may be less useful than one that appears farther away but connects cleanly to the accessible route.
Only then decide whether USJ or a hilly Kyoto route still belongs
If one day already requires significant mobility support, do not add another high-friction section to the same day. USJ is a full day by itself. Kyoto should be one area. Nara may need a different route if wheelchair use is central. Removing one attraction is not enough if the remaining transfer architecture is still hard.
Rain-day swaps: do not automatically turn every outdoor day into a shopping mall day
Rain is more disruptive with parents because wet pavement, umbrellas, slippery slopes and crowded station entrances make simple movement harder. Kaiyukan on Day 7 is already a built-in rain swap. If Kyoto gets heavy rain, exchange it with the Osaka recovery day. If Nara gets heavy rain, that is often the easiest day to delete because so much of its value depends on outdoor walking.
USJ is different because tickets and Express products may be date-specific and have change or cancellation restrictions. Protect the expensive, inflexible day first, then move the free or flexible sightseeing around it. A good buffer system does not pretend every day can be rearranged equally.
Should you split the stay and sleep in Kyoto? Set a higher bar when traveling with parents
On a general Kansai itinerary, two full Kyoto days can make a split stay worthwhile. With parents, add the hidden cost of packing, checking out, storing or forwarding luggage, checking in again and learning a new room and station route. Move once only if Kyoto truly needs two full days and you will use both the Kyoto evening and the next morning. One Kyoto day does not justify the disruption.
If Kyoto is only Day 4, keeping the Osaka base is usually cleaner — especially after you have already paid for a room with a bathroom, breakfast routine and station route that work well for your parents. If Kyoto and Kobe day trips are a major part of the week, use the Osaka hotels for Kyoto and Kobe day trips guide to evaluate the repeated platform-to-room friction.
How to allocate the budget: reserve money for reducing fatigue before adding tickets
I would split the budget into two categories: experiences you genuinely care about, and money that reduces friction. The second category includes a better hotel location, a few short taxi rides, a lunch reservation with guaranteed seating, and luggage delivery if it meaningfully removes a difficult transfer. Many families spend the ticket budget first and then become reluctant to pay for a taxi at exactly the moment it would save the day.
A higher-priced purchase should solve a defined problem. USJ Express buys time certainty for selected attractions. A better-positioned hotel buys the last ten minutes twice a day. A taxi buys out a piece of walking with no sightseeing value. A second observation deck, a second aquarium or a distant restaurant added only because “we are already in Japan” usually has a weaker claim on the budget.
Three parent-travel versions: how Days 4–7 should change
Strong walkers, first Kansai trip: keep Kyoto, Nara and Kobe
Use the main route: one Kyoto corridor on Day 4, Nara as half-to-full day on Day 5, Kobe waterfront on Day 6 and Kaiyukan or a buffer on Day 7. This does not turn the trip into a slow senior tour. It simply gives each day an exit before the plan becomes a test of endurance.
Independent walkers who tire easily: keep Kyoto and Kobe, turn Nara into recovery
Kyoto and Nara back to back can create too much walking for too little recovery. Keep Kyoto because it usually carries more first-trip value, use Day 5 as Osaka recovery, then do a flatter Kobe waterfront day and decide on Kaiyukan only after checking the group’s energy. This version is often better than collecting four cities.
Wheelchair use or clear mobility limitations: redraw the route from accessible infrastructure first
Osaka Castle, USJ and Kaiyukan all publish accessibility information, but the rules differ by facility and by attraction. Kyoto and Nara add hills, temple surfaces and crowding. In this version, list the two or three places that matter most, verify each official route, then choose the hotel and day order around elevators, accessible restrooms and transport. Do not fill seven days first and search for accessibility fixes afterward.
In the final 48 hours, re-check only the seven things that can really change the trip
Check the KIX arrival and departure time; the exact elevator exit between hotel and main station; USJ operating hours and access requirements for the attractions your parents want; Kyoto’s current congestion forecast; Kaiyukan’s timed-entry availability; the current operating status of Osaka Castle Park transport if you plan to use it; and the weather plus your parents’ actual energy from the previous day. Those seven checks matter more than re-reading every saved restaurant.
The variables that break this itinerary are inflexible tickets, weather, elevators, crowding and unexpected fatigue. Keep your attention there. Small free sights can be deleted or moved at the last minute without drama.
Final verdict: the best thing to buy is the freedom not to push through
The logic of this seven-day Osaka itinerary with parents is not “see less.” It is “make only one thing per day non-negotiable.” Day 1 is check-in. Day 2 is Osaka Castle plus Umeda. Day 3 is USJ only if your parents genuinely want it. Day 4 is one Kyoto corridor. Day 5 Nara can disappear completely. Day 6 is a waterfront-focused Kobe day. Day 7 is Kaiyukan or a blank buffer.
This works best when your parents are still independent travelers but you already know that copying a young-adult Osaka itinerary will make the second half miserable. It is not a sufficient standalone plan for families with specific medical, care or wheelchair-transfer requirements. The biggest risk is not missing a sight; it is spending the entire energy budget in the first three days.
Before you pay, make only three decisions: Umeda or Namba as the base; whether USJ is your parents’ wish rather than someone else’s; and how many of Kyoto, Nara and Kobe truly deserve a day. Once those three answers are clear, you do not need extra attractions to prove the week is “complete.”
Source check: August 2026
For current wheelchair rental and attraction-access requirements, re-check the Universal Studios Japan Barrier-Free Guide. USJ currently lists manual wheelchair rental at ¥500, with limited availability and no reservations.
For Osaka Castle gradients, internal park transport and elevator access, use the official Osaka Castle Barrier-Free Map. The current map details Road Train, Electric Car and main-tower elevator access, including movement-limited use on upper floors.
For Kyoto, check the Kyoto Travel Congestion Forecast and official Getting Around Kyoto guidance close to travel. Forecasts change by date, time and expected weather.
For Kobe accessibility planning, use the official Kobe Universal Tourism information, which covers older travelers and travelers with disabilities, wheelchair services, accessible toilets, facilities and example routes.
For Kaiyukan, re-check the official no-re-entry notice and barrier-free information. Re-entry ended on June 15, 2026, and the aquarium currently uses timed-entry admission.